Time Lapse in 5 Easy Steps
Everyone has seen these amazing “videos” in which we have the chance to experience the passing of the day/night in fast motion. Whether it’s in the movies or in different terms, a time lapse video is always appealing. And the best part is that it is a useful tool for people who are into cinema, as well as it is for photographers looking to create a new artistic piece. Despite the common believe, a time lapse is not done through recording…it’s done through pictures!
For people who are not too sure of what a time-lapse is, it is indeed an animation. But it is not done through a recording in fast motion. It’s done by creating a sequence of pictures until you get a video-like piece. And doing a time-lapse requires lots of patience, the choosing of a perfect setting and expecting a great result. In this article, we will show you a small tutorial of how to do a time-lapse in 5 easy steps.
Equipment
Before we get into the tutorial itself, here’s what you should have to create a good time-lapse:
- Any device able to do a time-lapse (a camera with a timer and with a good ISO level toleration). If your camera, smartphone or tablet does not have a intervalometer, then you can add a laptop or an intervalotmeter as such.
- Tripod or any other solid base that provides stability to your camera or smartphone.
- Patience: lots of it.
5 Easy Steps to Create A Time Lapse
1.Set the camera on the tripod
Before adjusting anything, find the right spot to place your tripod and then set the camera. Later, find the right angle for whatever you want to shoot. Make sure there’s a point of interest within the frame. Do not make a dull frame, since it would make people lose interest in less than a minute. Make sure you choose a place where the camera can’t be stolen or fall. If you see a cloudy sky, set an umbrella over the camera.
2.Get the proper settings
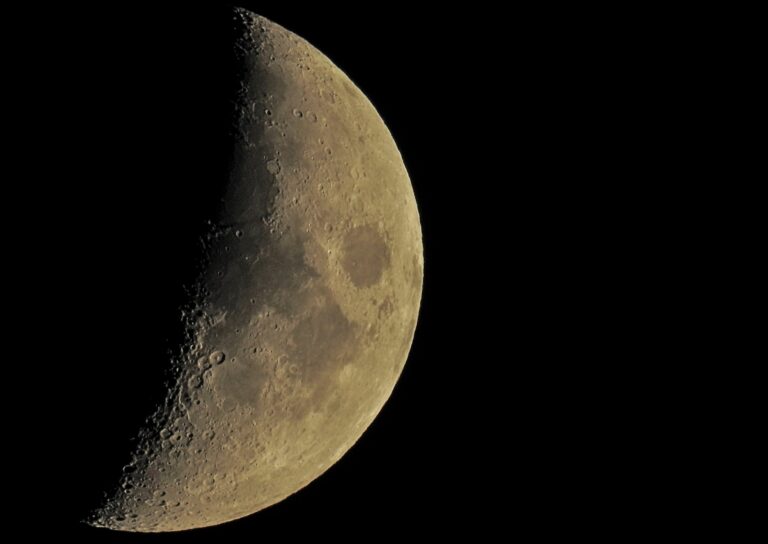
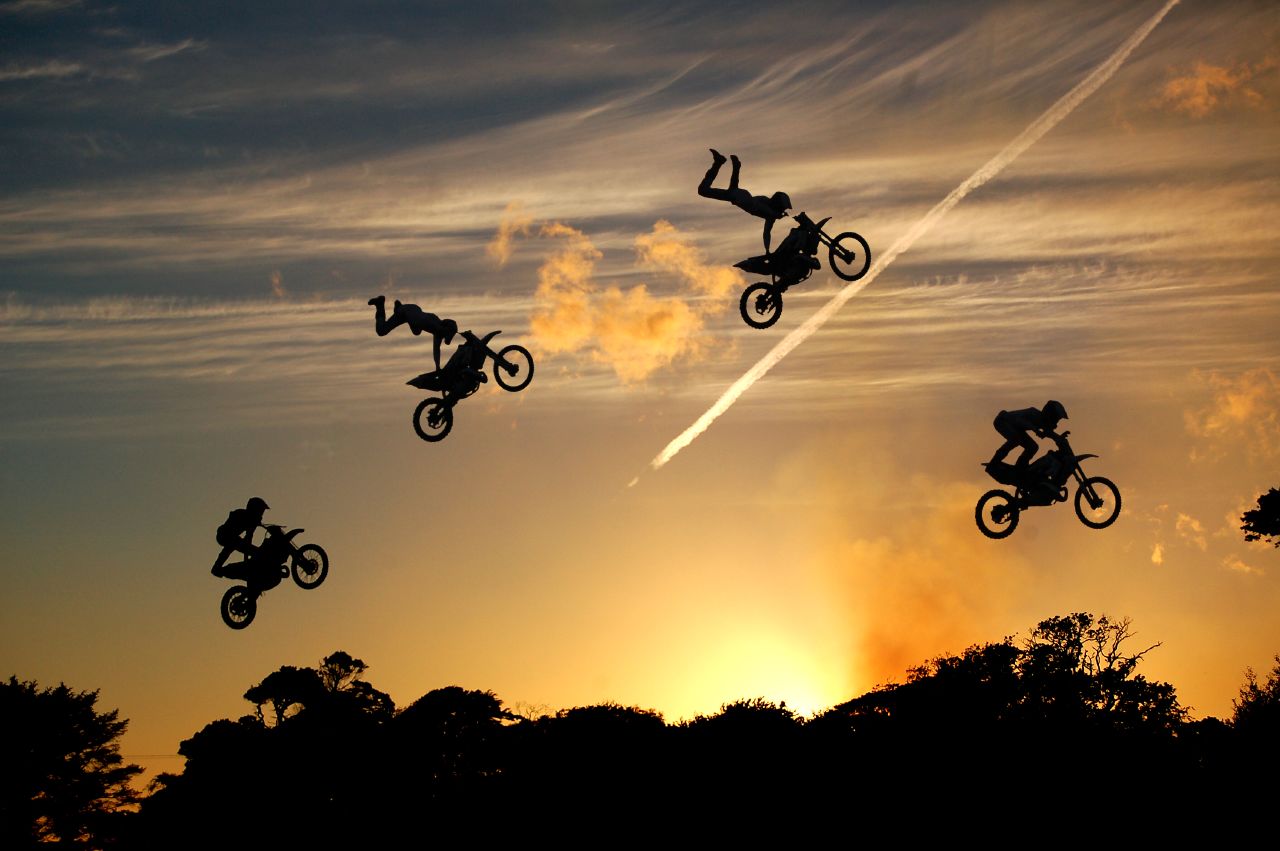
Obviously, creativity will play an important role in this part, but your main concern when setting up your camera will be knowing what you’ll be shooting exactly. The shooting interval will vary according to the speed of events and it can vary from 1 second to 15 minutes. Depending on how fast things happen, you will use the fastest interval. For instance, moving cars in a highway require around 1 to 3 second interval, but if you want to capture clouds moving, you can set the interval to 5-15 minutes.
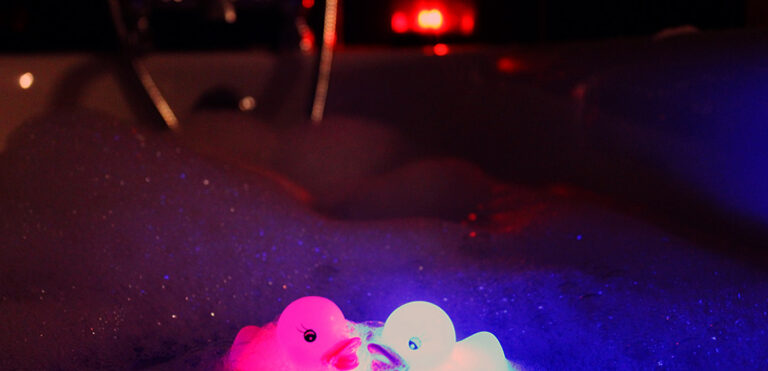
Steven Kelley – Flickr.com
About the “graphic” part, you need to adjust the following settings: ISO level, which has to be tested by taking pictures BEFORE you are going to do the time lapse; the aperture, which will determine the amount of light you want to get; the exposure, which adjusts the brightness of the pictures; the shutter speed which must be inferior to the shooting interval if you don’t want to get skipped frames; and the format, which depending on the storage should be RAW. Keep in mind that all of these settings should be PERMANENT during the whole process.
3. Set the intervalometer
If you have a smartphone or a camera without one, set the intervalometer with the help of an app or a laptop. You can search the app in the App Store or Play Store. There are some free ones, so make sure you find the one with the less limitations in general.
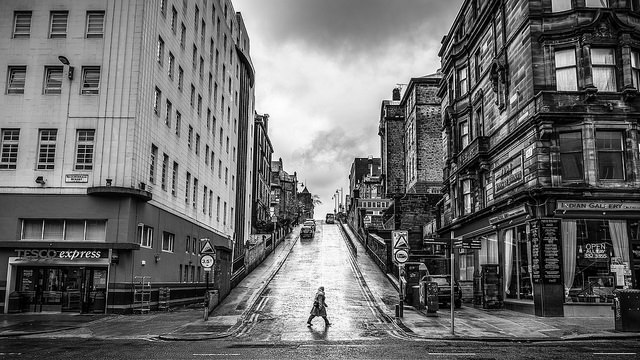
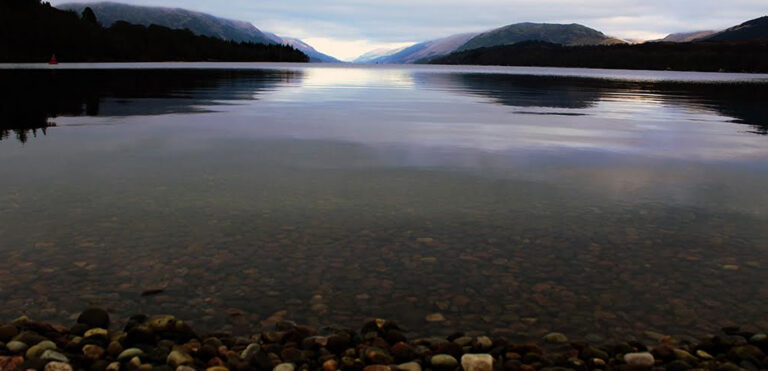
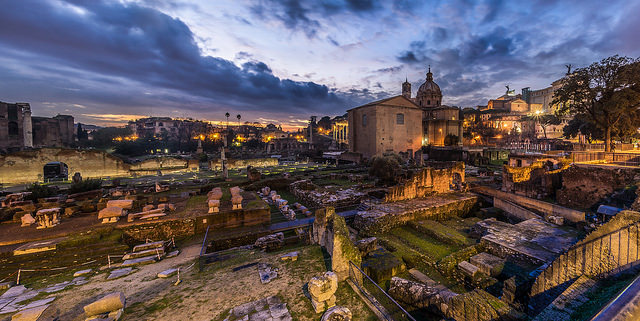 Giuseppe Milo – Flickr.com
4. Start shooting
Shooting is the easiest part in the Time Lapse process, since the camera or smartphone will do it by itself. Hit the button (figuratively) and let it roll as you watch or you know, find something you can do as time passes.
5.Edit your shots!
This is probably the hardest part of creating a time lapse – and it’s not even that difficult. If you are using a smartphone, these time lapse apps usually offer the option of creating the video at once. If you are using your DSLR camera, you can store the pictures in your computer and compile them with Adobe Lightroom, Windows Movie Maker, VirtualDub and others. Each software has its own – usually easy – instructions, so it shouldn’t be too complicated to find the way to stitch the pictures.
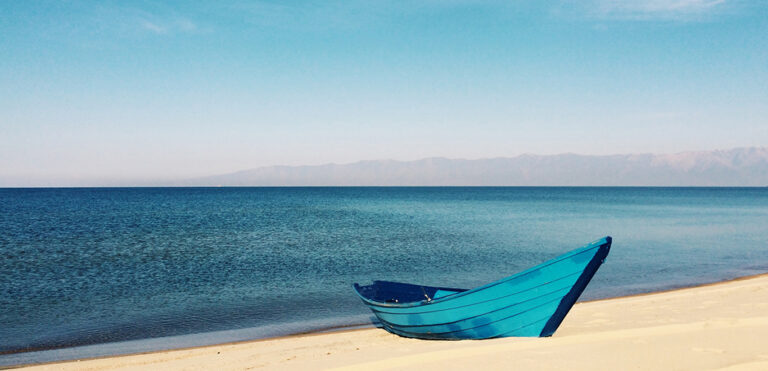
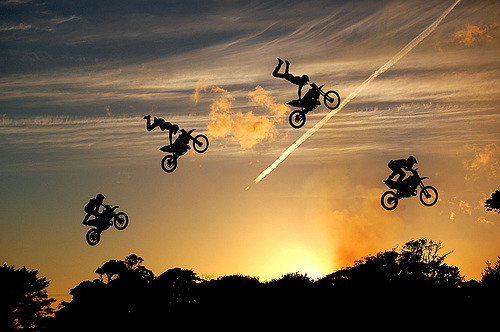 Geraint Otis Warlow – Flickr.com
What you should take in consideration is the light/temperature/brightness changes that there could possibly be in the pictures. Try to keep harmony and make all the settings equal – or as equal as possible.
It’s a pretty good experiment that should be done at least once by any photographer/videographer. Keep it in mind for your next project!