5 Tips To Improve Lighting In Your Photographs
Light is everything. It’s what makes us appreciate what’s around us and as you know, this is essential for photographers. Without light, we cannot build any decent frame, because even the darkest shots have important sources of light or some later editing. So besides learning about the settings in your camera, you also need to learn how the light works.
What affects the lighting of a photograph? Light has different presentations and in top of that, there are so many accessories you can use to customize it. And this last thing makes it great, but also difficult to manage.
In order to become better photographers, we need to understand how the light works and then, we will know how to use it for our benefit. Up next, you’ll find some tips to master the lighting in your frames. Or at least, to make a good start.
1.Small lights are harder
Do you know the difference between hard and soft light? Let’s begin with that. Hard light means the scene will have darker and sharper shadows. Also the contrast between dark and clear spots is quite visible.
Soft light, on the other hand, means that the subjects will not have such strong shadows, but rather it will have a smooth transition between its shadows and reflections. You will hardly notice this contrast.
But what produces a hard light? A small source of it (also a small distance can create hard lights). Say you use an external flash to light your frame. If you use a snoot, for instance, you will definitely have a narrowed area in which your light will be effective.
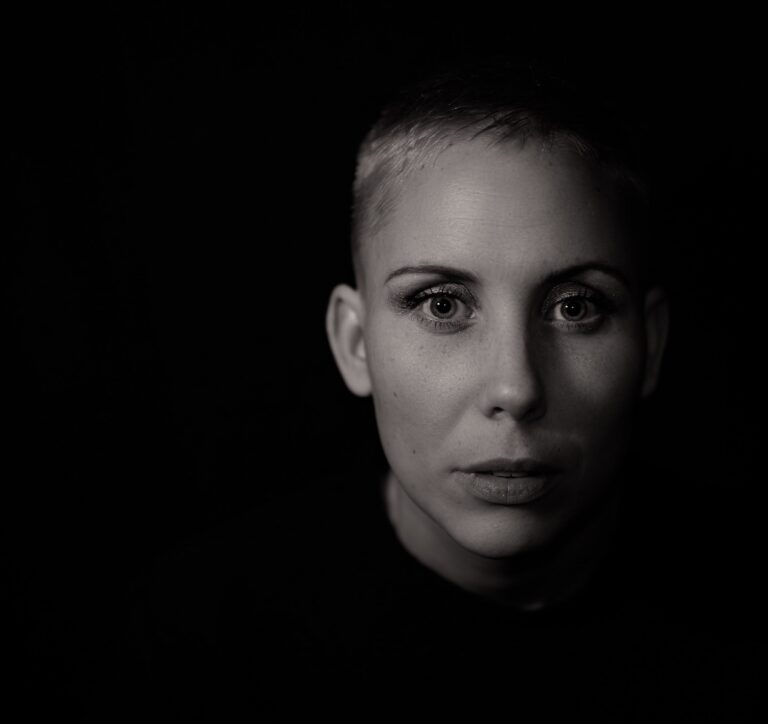
These kind of small lights are often used to create low key pictures and other creative shots. However, if you want sharp shadows and reflections, but a wider focus, try putting the sources closer to the subjects instead of using snoots.
2.The broader the light, the softer it will be
Plenty of photographers prefer using broader lights most of the time because they are easier to handle. In order to create soft light, you have to apply the opposite technique: you get the light further and bigger. There are many lighting accessories that allow you to have soft light for a very small price. Sometimes this gear can be free. Can you guess why?
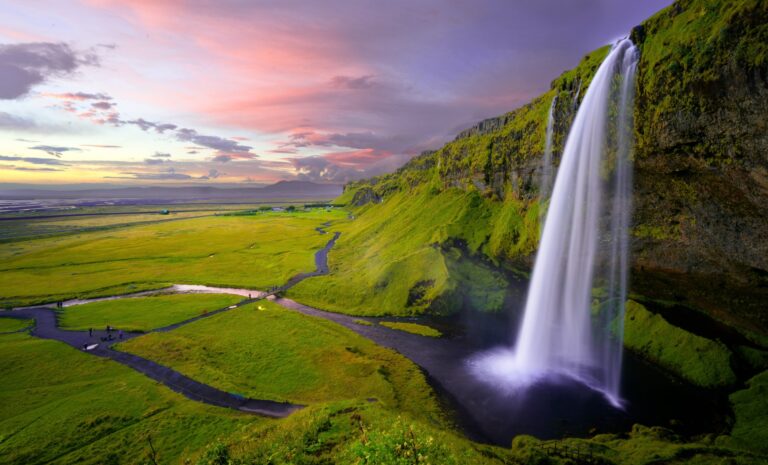
That’s right! The sun (natural light) can be a great way to get soft light in your frames. And it’s free! If you are indoors, you will only need a window big enough to produce a broader focus (or a crystal/open door). But if you are outside, you have more choices.
Be careful, though. Soft light from the sun is not always as “soft” as we want it to be. Not only does the mid noon light make you sweat, but it will also “burn” your frame a little if you are not careful. Mid noon light and often light before sunset is very strong. Be sure to make use of the right accessories or to go out at later/earlier times.
3.Use farther lights for portraits
Using the principle of the concepts described above, we can honestly say that a farther light will flatter your subject(s) more. Though this is not exactly a rule, it’s usually the best way to go, especially if you are a beginner.
And as you can imagine, another good idea is to choose an appropriate time to shoot. This can be during the sunset or the sunrise, which will create different tones of lights, but not as hard as you might expect.
Of course, you can try using hard lights if you want a different concept within the shot. But generally, it is recommended to use natural light in portrait photography. You can also incorporate external flashes and lighting gear, no matter if it’s daytime or nighttime.
4.Don’t stop because of cloudy days!
If you have appropriate protection gear, there’s no reason you should feel threatened by weather conditions! Cloudy days are one of the best types of days to shoot outside. Why? The clouds work like light diffusers, so you will find a softer light within your shots.
And a softer light results in fewer shadows, which is great for most types of photograph. However, keep in mind you won’t find “sun warmth” in them, so you might need to process the white balance to get richer colors. Regardless, don’t miss out on the opportunity to take your camera out.
There is one issue to be aware of though: the actual rain/snow. Unless it is weather sealed, your camera is not indestructible, and water can be deathly to your equipment. Some devices are water resistant (along with some lenses), so no problem there. BUT there is a way you can protect your camera from water, if it doesn’t have these special seals!
You can search for DIY tutorials of how to make camera protectors. A plastic bag will be enough to cover it, if it’s done correctly. Take a plastic bag and put your camera inside. Then, cut a whole of the size of the lens (not bigger, not smaller) and get the lens out. Be sure your bag doesn’t have any holes and that it has tape on the lens aperture, to avoid water getting let in.
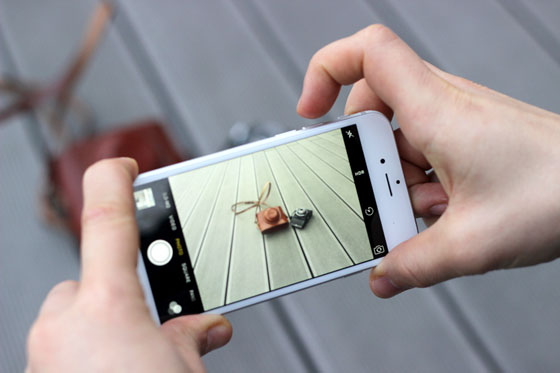
5.Test the light before the session
Take a look at how the light works on your subject. Change positions and distances from the subject to see how it affects it. Remember that front and back light, for instance, will guarantee a totally different effect on a scene. It’s important to also test the intensity of each light source, so you don’t burn or underexpose your frame!
Remember: don’t be afraid to try new gear or new projects. Though light can be difficult to manage, it’s also the most customizable thing there is in photography. Widely explore your talent and your creativity as a photographer!
If you have any questions or comments, please leave them below!