The Rule Of Thirds Explained
When we look through the viewfinder we often see a lot more than what captures our imagination. A busy street, perhaps, can capture your attention, if you are half way around the world and in unfamiliar territory. For another photographer it can be random patterns that makes no sense at all. He may, however, still find something interesting but it requires a trained eye and an astute mind behind the camera to be able to find any sort of rhythm in those random patterns. Today, we learn an interesting facet of composition. Today, we learn about the Rule of Thirds.
The role played by composition in Photography
Composition, is what makes sense of a scene. It is directly linked with story-telling. There are no words spoken or written in photography except the words that are said using pictures. Your composition is what makes that picture come alive.
There are several rules in photography which helps you create an aesthetic composition. I used the word ‘photography’ but these rules are equally applicable in painting. As a matter of fact both painting and photography have a lot in common.
Among these rules, the Rule of Thirds, is probably the most tossed around. You may have heard about this rule before and have a vague idea of how it works. The rule is quite easy to understand and there are assists provided right in your camera to help you make a good composition using this rule.
Why the Rule of Thirds is necessary?
It is necessary because we need to grow out of the clichéd and visually unappealing bang-in-the-middle composition techniques that we are taught when we first start shooting. We are taught to keep the subject of our photos right in the middle of the frame and click the shutter release. Well I am not against such a composition technique. Except that in a majority of the cases this technique produces boring results.
What is the Rule of Thirds? How can it be used in different shooting requirements?
The Rule of Thirds comes as a necessity and somewhat as a modified version of a naturally available pattern known as the Golden Rule. We are not going to learn about the Golden Rule here. Some other time perhaps. For the moment just know this – that the Rule of Thirds is a lot easier to implement in-camera than the Golden Rule.
Well, that said the Rule of Thirds can be explained like this. Imagine that your frame is divided into 9 equal rectangles. In other words, two sets of parallel lines cutting each other at four intersecting points on the frame to form 9 equal sized rectangles.
The Rule of Thirds suggests, that if you place the subject of your composition, on or close to one of these intersecting points, or coincide with one of the grid lines cutting across the frame, the image will have a better aesthetic appeal and will be better balanced than when you place the subject right at the middle of the frame. Let’s take a few examples to elaborate this theory.
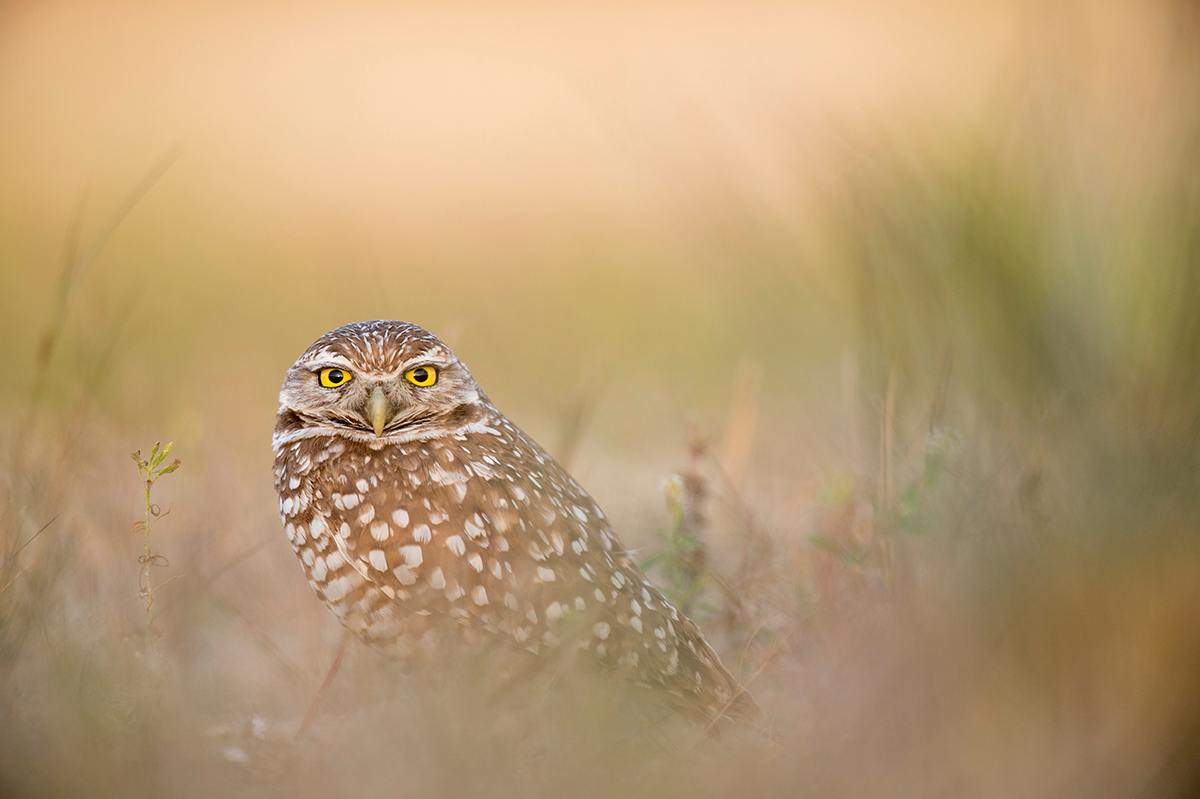
This image of the bird perched on a branch is a good example. Imagine the two sets of parallel lines we learned about. The one at the bottom right corner will be close to where the head of the bird is. The visual appeal of the image wouldn’t have been nearly the same had the head been closer to the center of the frame.
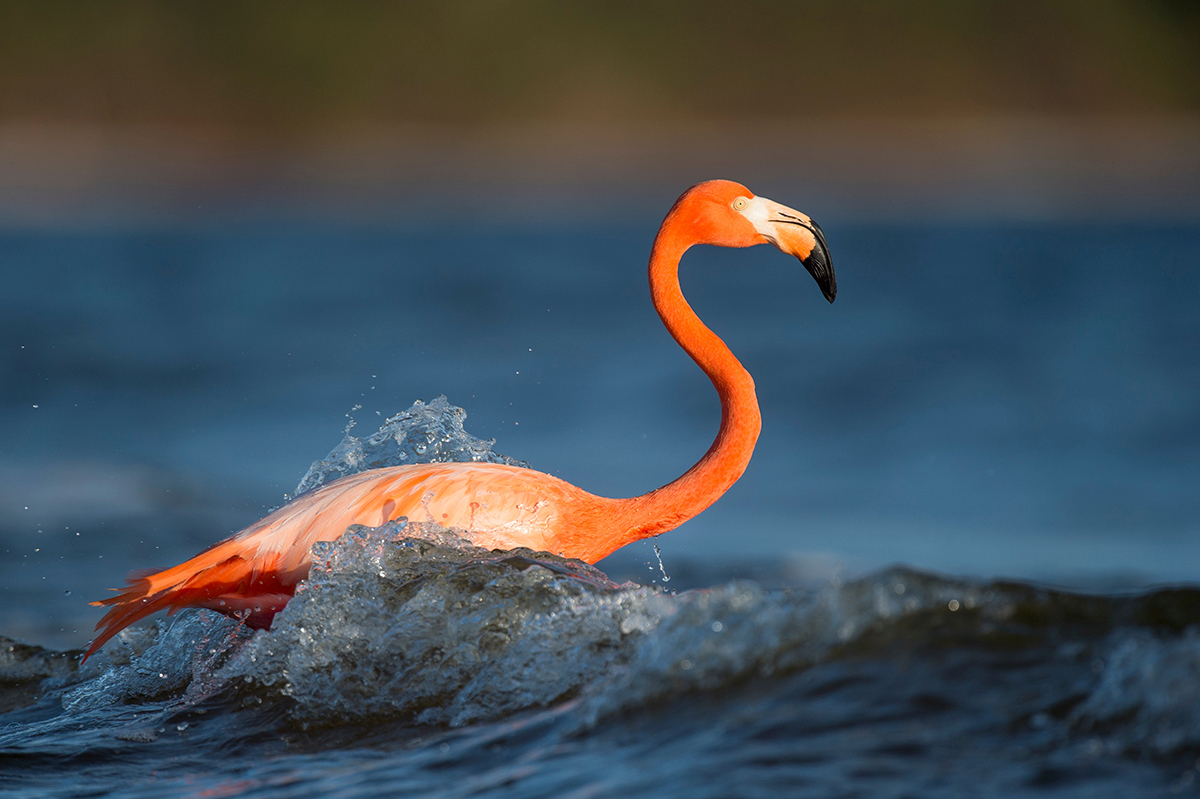
This is yet another example. The flaming orange color of the flamingo and the beautiful blue background notwithstanding, the composition nails it. Imagine the Rule of Thirds grid and you will notice that the head of the bird falls close to one of the intersecting points.
The Rule of Thirds isn’t just a rule for bird photography or for that matter any other portrait photography only. It is a Rule that works for a wide gamut of work that you normally do.
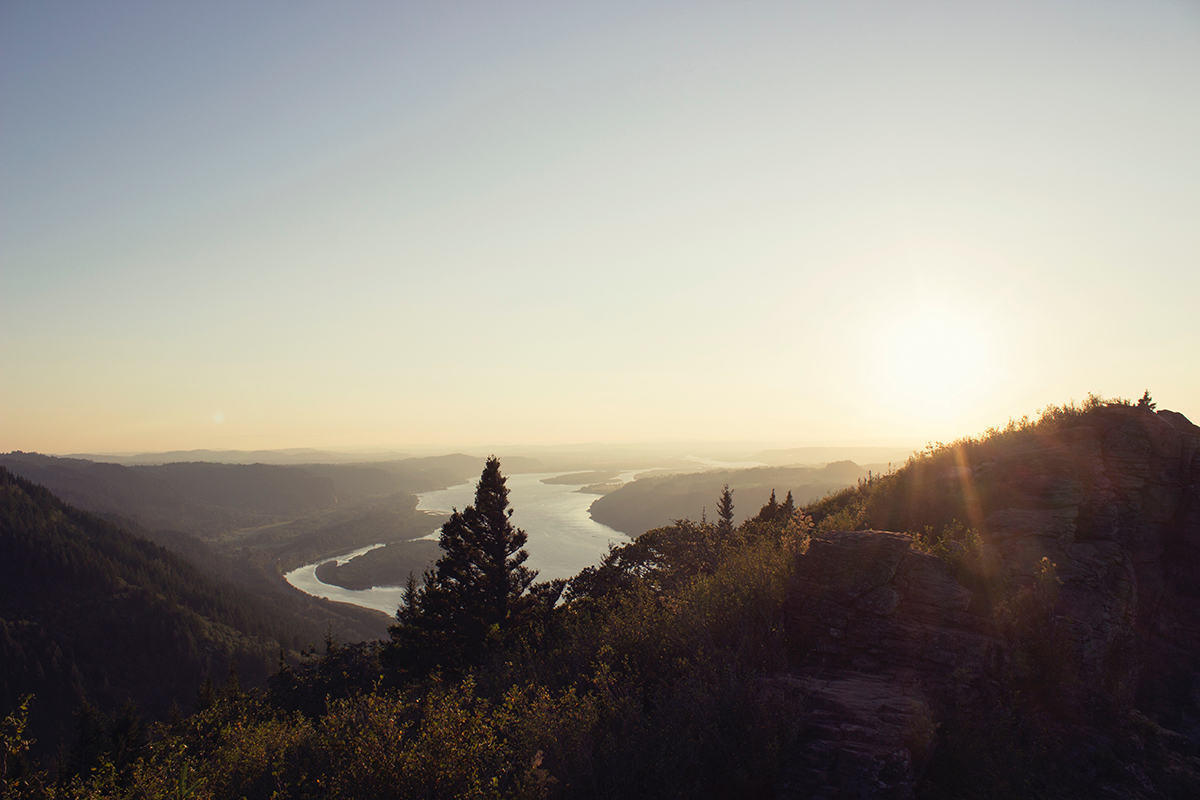
Let’s take another example. This time a landscape photo.

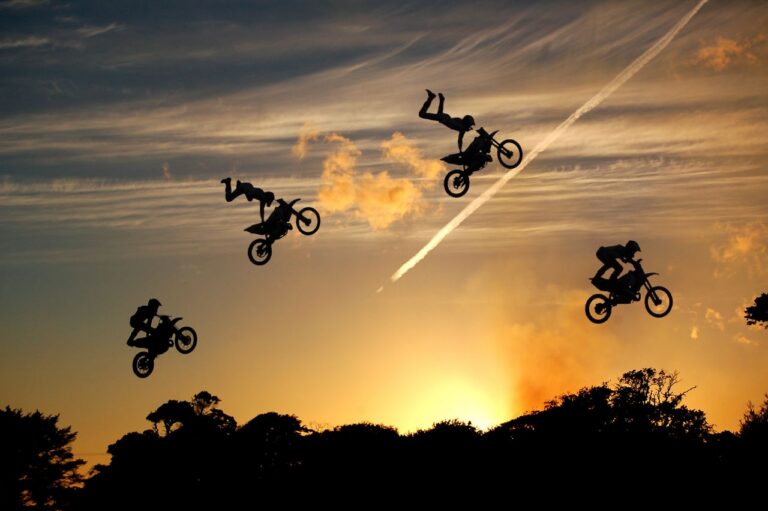
I have seen far too many landscape images that have the horizon line bang down the middle of the frame. I love the horizon line to be either at the bottom third of the frame or the top third, depending on whether the sky or the foreground is the more interesting of the two.
The above image is an example. Obviously, the blue boat is the focus of attention of the image. But watch where the horizon line is. Almost coinciding with the bottom line of the Rule of Thirds grid.
The sky has a bit of a texture going, thanks to the patches of cloud. Which makes it a wee bit more interesting than the foreground which is dominated by the sandy beach and the blue water.
This is yet another example. Let’s talk about some exceptional situations. Some images don’t have a clearly defined horizon line. Does that mean that the Rule of Thirds will be inapplicable in those situations? Not quite. Here’s an example.
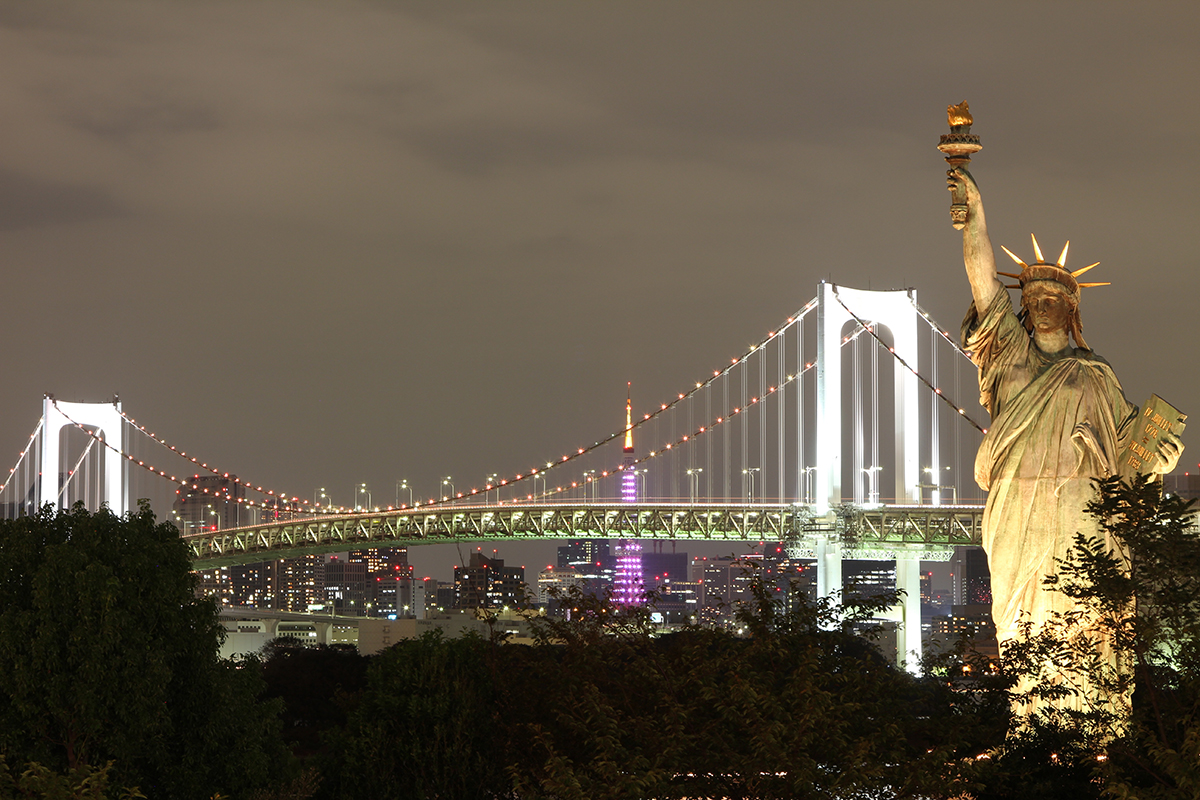
This image also incorporates the Rule of Thirds. In this case the rainbow bridge behind the Statue of Liberty coincides with the bottom horizontal grid line. The head of the statue also coincides with the top horizontal grid line.
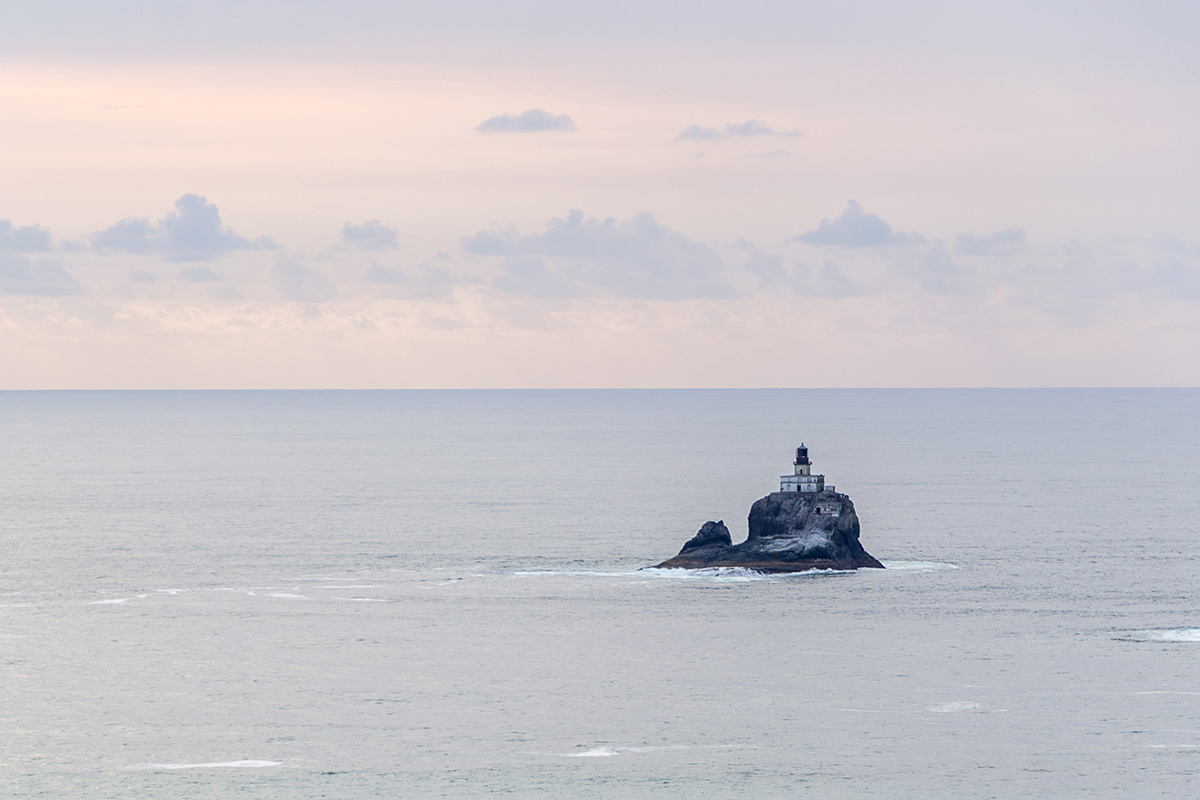
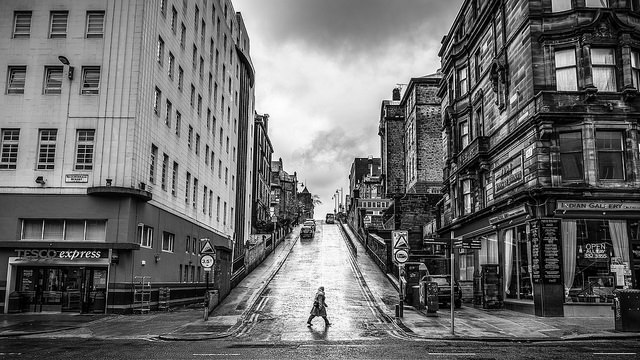
Here is a more classic example of the Rule of Thirds. In this image the lighthouse coincides with the right vertical grid line and falls right about the point where the two lines intersect each other.
The Rule of Thirds works with flower photography too. Here is an obvious example in flower / macro photography.

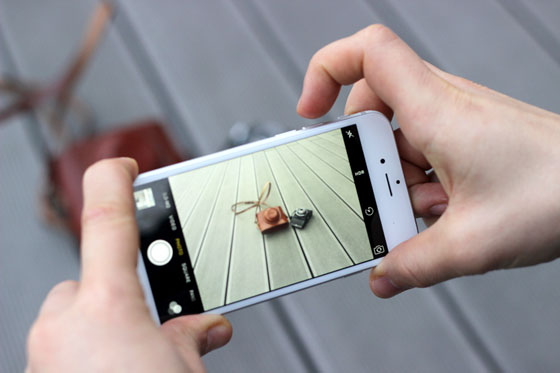
You can use the same composition for shooting wedding rings, cakes, food and other subjects.
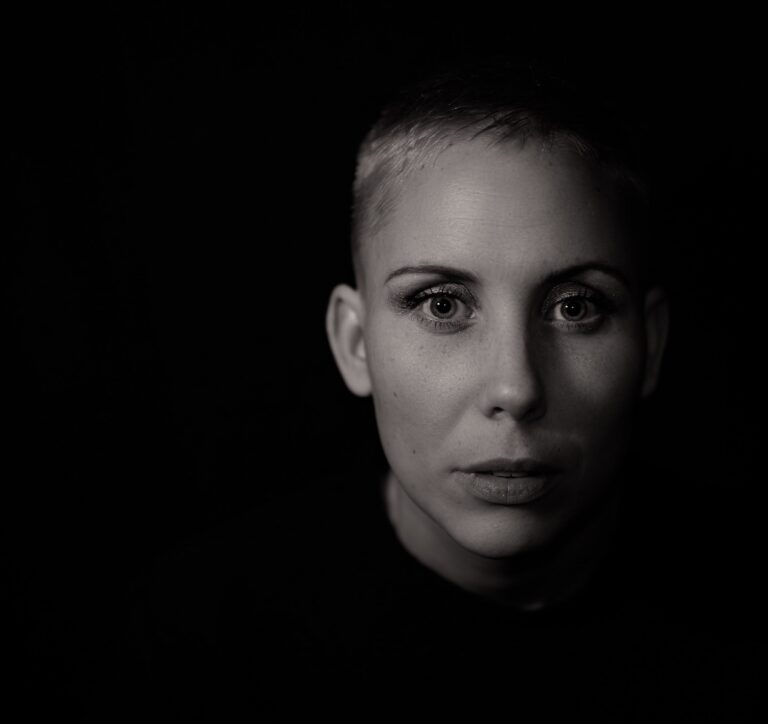
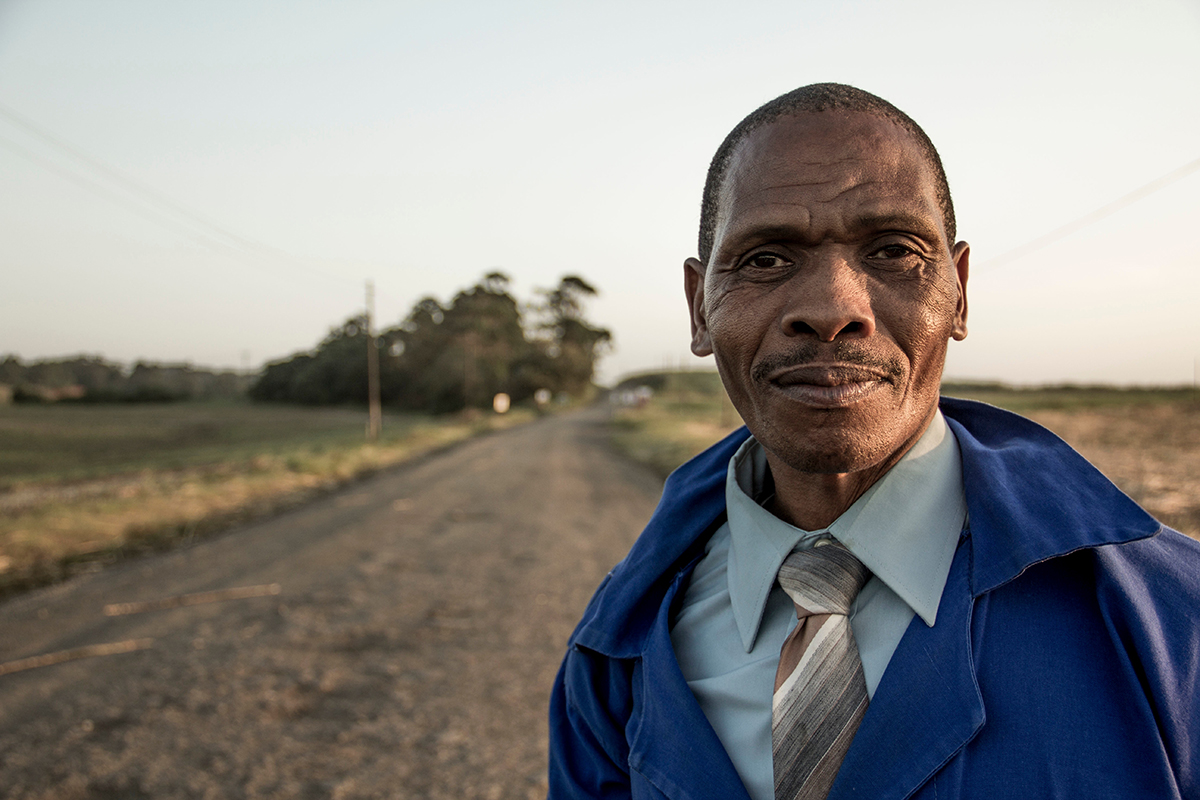
Finally, about the use of the Rule of Thirds in portrait photography. The Rule of Thirds is often used in portrait photography and with good result too.
Here is an example.
Why does the Rule of Thirds work?
The Rule of Thirds works because of a number of reasons. It has been noticed in research that the human eye tend to find its way more towards one of the four intersection points as described above in any frame. Thus, placing a subject of interest in one of the four intersecting points gives the image better aesthetic appeal.
Another reason for which the Rule of Thirds work is that it basically is all about off-center compositions. Off-center compositions, again are visually more appealing. Every time you leave some space on one of the sides of the frame you leave some room for the eye to wander off and then come back to the main subject of the image. This space is also known as negative space in photography.
Visual references to using the Rule of Thirds: How to create better composition in-camera
The horizon line, when you are looking through the viewfinder is a good reference point for the Rule of Thirds. It gives you a straight line which you can then position around the bottommost of the grid lines. Practice looking at your existing images imagining where the Rule of Thirds grid line would appear. This will prepare your eyes when you go out with your camera the next time.
Editing images to comply with Rule of Thirds in post-processing
Popular photo editing software such as Photoshop and Lightroom have built-in cropping tools. Cropping tools allow you to edit out portions of the image and make it conform to the rule of thirds. In Lightroom, select the Crop Overlay tool. It immediately shows you the grid lines that I was referring to at the beginning of this tutorial. Once the grid lines are visible, you have the option to simply hold and drag one of the corners of the selected area and the image will be cropped while maintaining the same aspect ratio. It is much easier these days to ensure that your images conform to this rule.
Beyond The Rule of Thirds
The legendary Ansel Adams had said, “There are no rules for good photographs, there are only good photographs.” No rule in photography can be all encompassing. No rule is bigger than the creativity that the human element in the image brings in. rules are best implemented when you take them as guides. Some photographers become too obsessive about rules in photography. They forget that it is more important to have a good photo rather than to have a photo that follow rules, whatever those rules may be.