5 Tips to create Black and White pictures
Have you taken a photograph in black and white and thought that something isn’t exactly right? How could a black and white picture go wrong?
Black and white pictures have been a trend for quite some time, since they are very practical for both photographers and aficionados in daily life: it’s even a great option for selfies. In fact, we tend to believe that a little lack of color will fix any inconvenience with a photo. Think again! Not every shot should be consider B&W material.
There’s a science behind black and white pictures, beyond them being total life savers in some occasions. And if you want to have a decent portafolio, you need to understand what’s there about these gray toned-photographs that makes them accurate.
So in order to create B&W photos like a pro, you need to take in consideration several facts and strategies. Here you have 5 extra tips to exploit your potential, whether it is with your DSLR or with your phone camera.
5 Tips to create Black and White pictures
1) Don’t shoot in Black and White. Seriously!
It might seem like a paradox, but it’s actually true. The best way to create black and white photos is not to shoot directly with the filter on. This is because of two reasons: a) If you shoot a picture in color, you can actually explore different possibilities: maybe it’s not even necessary to turn a photo into B&W; b) you can make a test of shooting the same scene in black and white and then shooting in color, followed by the filter on. You will see a significant differences in grey tones. Try to practice this and you’ll see that you will make the correct decision.
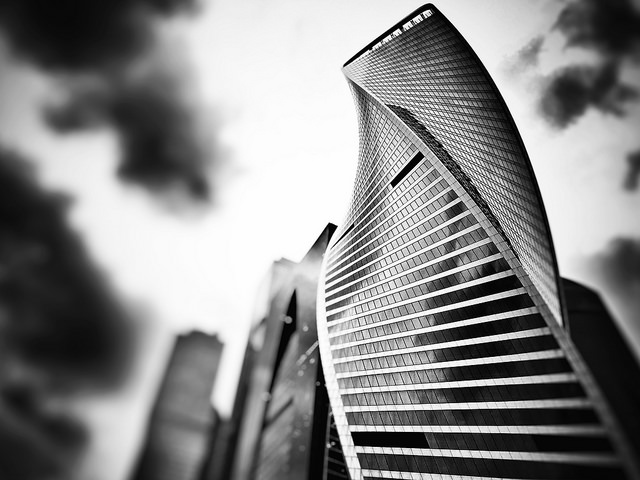 NO PHOTOGRAPHER – Flickr.com
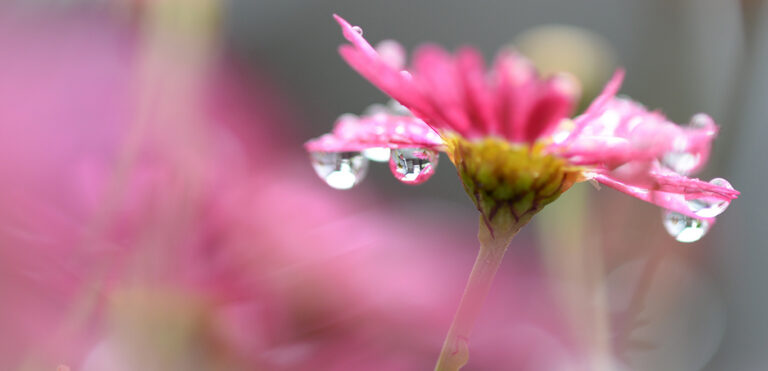
2) Trust the contrast
The best part of the black and white picture is the contrast. And when we say “best”, we mean it’s the best feature to experiment with. When you want or need to take a b&w picture, you need to find the contrast within a scene in order to achieve a successful picture. Also, contrast can be found in dark/light colors, texture difference, patterns, etc.
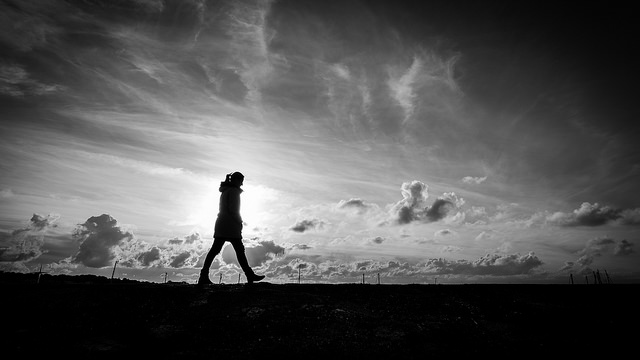 Giuseppe Milo – Flickr.com
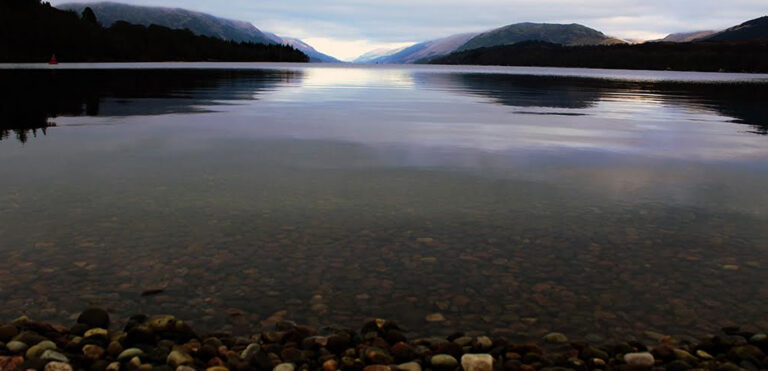
3) Shoot in RAW format
Shooting in RAW format is actually a consideration you may want to take in every type of shooting you want to do (you know, video and photo shooting). RAW format is an non-compressed format which allows the picture to have a raw, complete set of pixels whereas the JPEG format compresses a photograph making it lighter, but with worse quality. Both formats have pros and cons, but when it comes to black and white photos, RAW has more upsides.
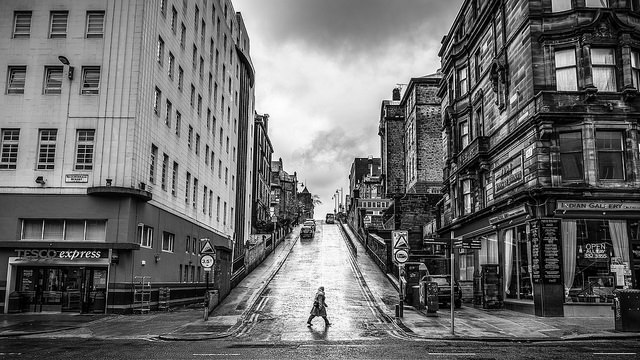 Giuseppe Milo – Flickr.com
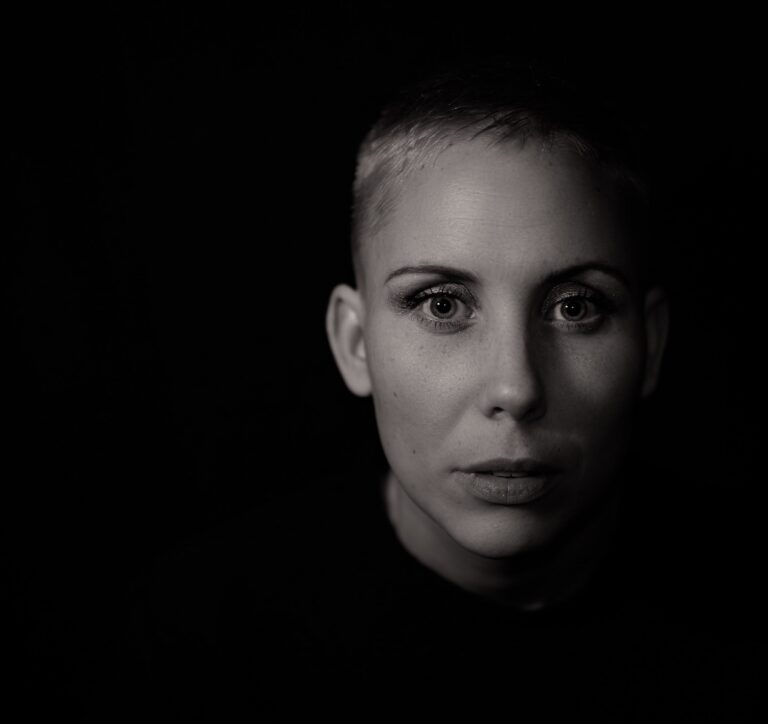
4) Try not to shoot in dark places, unless you want to add noise into the picture
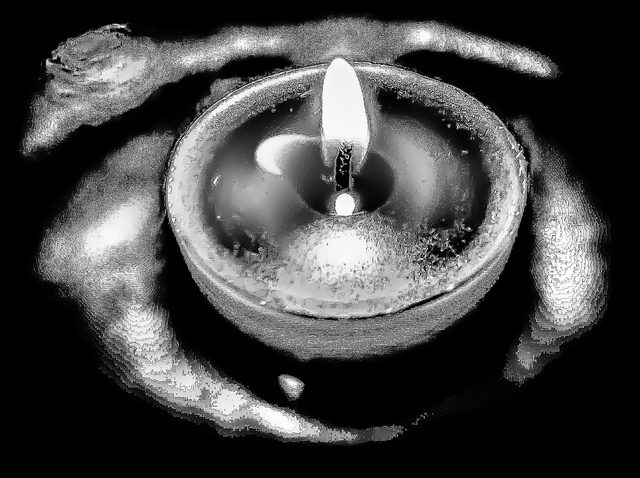 Origami48616 – Flickr.com
When you shoot in dark places, you get the mostly unwanted grainy effect thanks to the ISO levels that your camera raises to offer a sharper sight. In black and white pictures, it gets even more obvious since there are lesser tones and we tend to darken the dark spots and light the lighter spots. You either get a camera with a good ISO tolerance or avoid darkness. The alternative solution would be trying to fix it in editing stage.
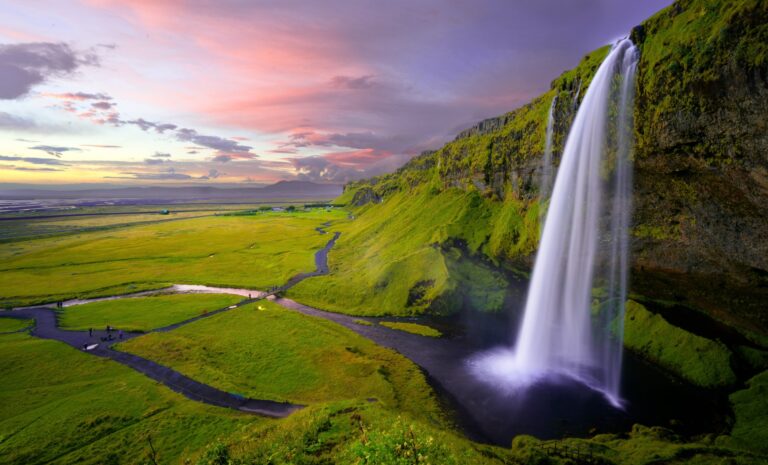
5) Try HDR effect
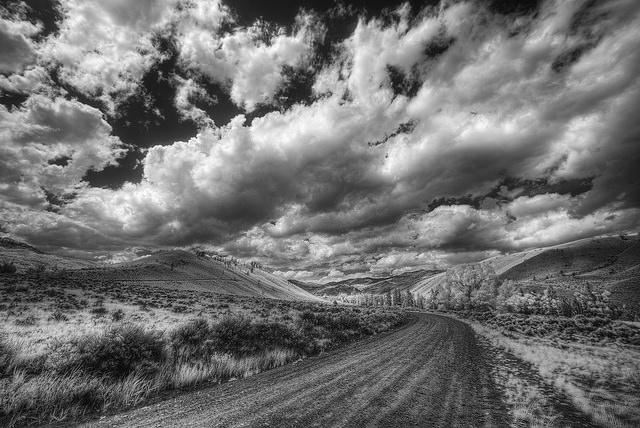 greg westfall – Flickr.com
HDR effect stands for High Dynamic Rage and it’s a process based on the shooting of three photographs with three different exposures, followed by the overlaying in a single frame. HDR is a technique mostly used for landscape photography and in black and white, this overlaying works out great, especially to highlight the contrasts within textures, patterns, colors and whatever elements there are in the scene.
Remember that the most important thing about a photograph is the frame, the composition itself. So whether it’s black and white, or colored, you need more than just a filter for a good shot!