How To Take A Good Headshot
Portraitures and head shots are two very similar avenues. Every photographer worth his salt should know how to make good headshots. This technique comes in handy when shooting weddings, engagements, family photos and even when you are shooting for fun. They can make you some residual income the whole year round. That is, if you know how to use your camera and lens. The best thing is, you probably have all that you need in order to make great head shots.
The perfect focal length
Well, if you ask 10 professional photographers – what would be the ideal focal length for headshots? 9 out of 10 will reply back – it is the 85mm. The 85mm has a cult following. If you then follow up with another question – Why? The reply will ostensibly be – the 50mm is too short and the 105mm is too long.
I personally believe that both the 85mm and the 105mm works. If you have a zoom lens like the 24-70mm or the 70-200mm you can be a bit creative and experiment with the many focal lengths possible with your lens. Yes, I wouldn’t shy away from using something like the 70mm. Especially, if I have a crop camera to shoot with. The 70mm will become the 35mm equivalent of 105mm.
Reasons for using a long lens
An important reason for using a long lens is that a longer lens slims the face down and quite effectively takes away some pounds off the face. In combination with the right camera angle, you can create a headshot image that is bound to look a lot better.
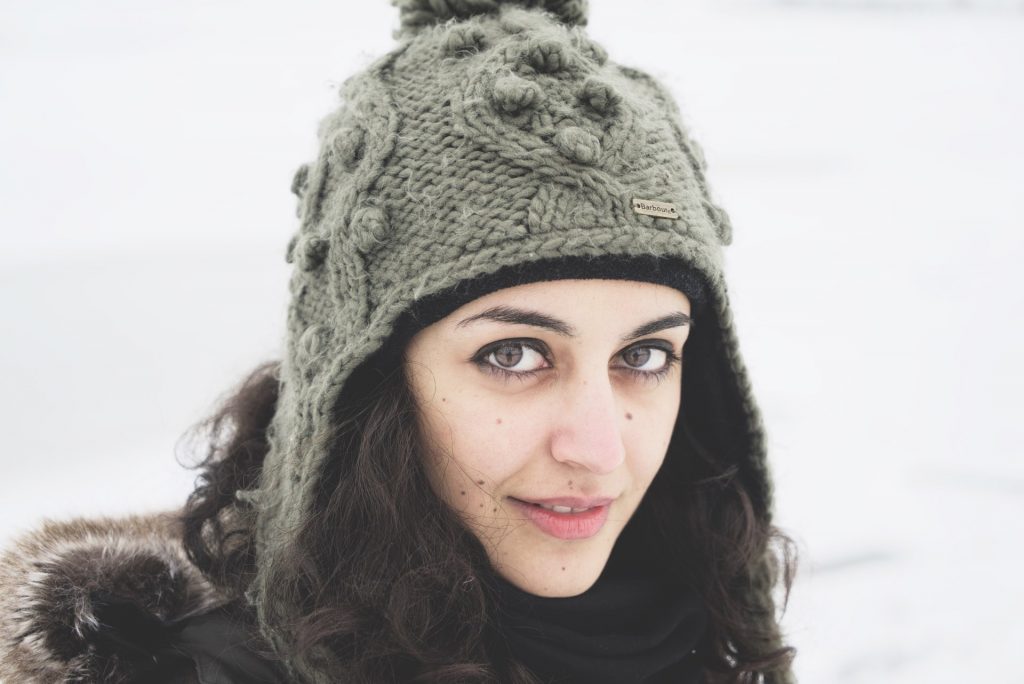
The other thing is that a headshot focuses on the subject’s face and that means you need to leave out anything that does not add to the face. I will probably keep portions of a nice hat that the subject might be wearing, or a fine piece of jewelry wrapped around her neck or earrings hanging down from her ears. But then the focus would still remain the face and not the accessories around it. To achieve that I need to pull in tight. A longer lens allows me to do just that.
The right camera angle
You want your female subjects to appear, well, feminine, and your male subjects to appear masculine. I know you must be thinking, does that even need a mention? How hard can that ever be? Well, the camera angle is what makes that possible and not just the subject alone. I have seen far too many headshots where the subject appear strange.
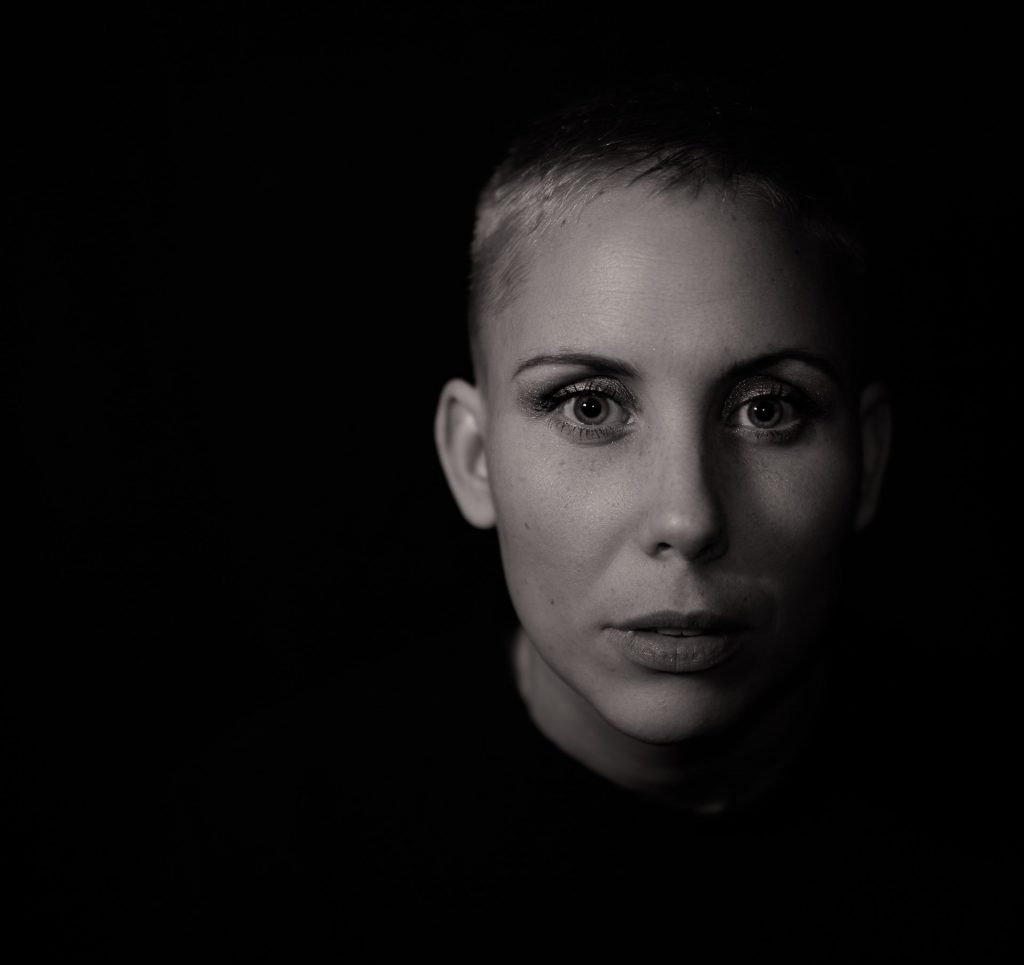
Re-evaluate some of your older images and compare them with headshots from stock photo websites. You would realize that they have not turned out quite the way you thought they have. The reason is the camera angle. Sure the stock shooter may have used an infinity cove and he probably had the best equipment to shoot with, but all things aside look at the subject’s face. A female subject should be photographed with chin down. That makes her appear more feminine.
On the other hand a male subject should be photographed with chin up. That makes him appear more masculine.
Where to focus?
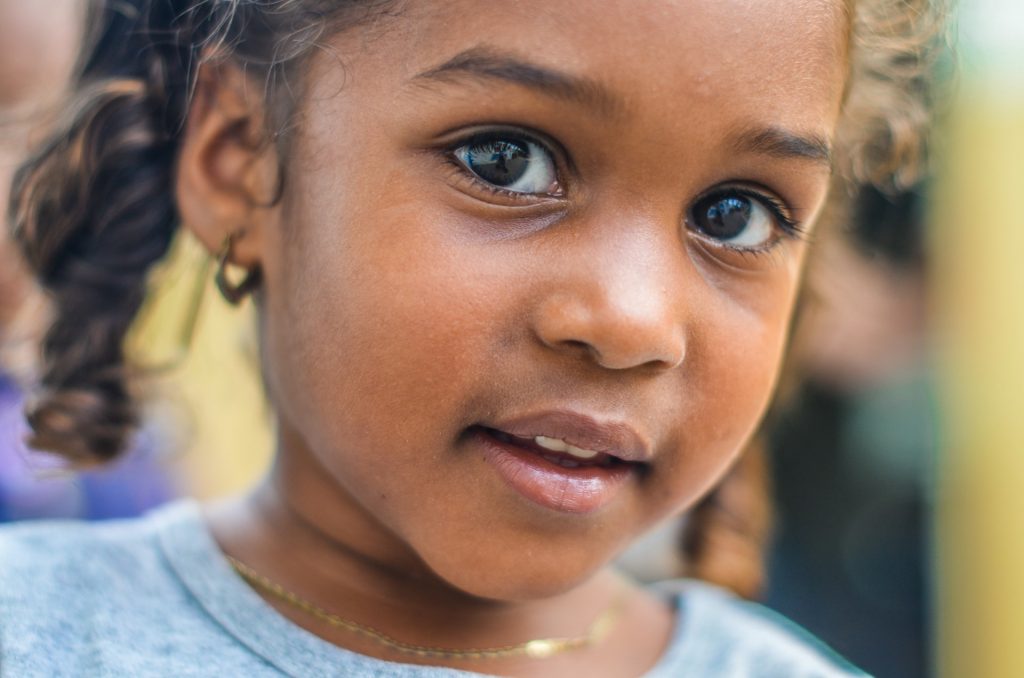
Every image that has a face that is consciously in the composition, must focus on the eye. To be precise, focus on the eye that is closer to the camera. An image of a face with soft eyes, immediately knocks the wind out of your composition. The image is never going to turn heads. When you speak with someone you focus on his / her eyes. That keeps the conversation honest. The same way when someone looks at your photo the attention immediately goes towards the eyes. They need to be sharp. Period.
What aperture to use?

There is no fixed aperture that is recommended, though the general trend is to use an aperture that is slightly large. That is because you don’t need a lot of the immediate environment to be in the image. In any case you would be composing very tightly, so, not much of the immediate environment would be visible either. Even if you do leave out some space around the subject’s face, shooting with a wide aperture is recommended in order to get those soft, creamy out of focus effects (bokeh as they are commonly referred to).
What metering mode to use?
The best metering mode would be to use spot metering. Spot metering samples a very small area of the frame, just around the AF point that you are focusing with, and eliminates everything that is around. The advantage in that is you get an accurate reading off of the skin tones of the subject.
As the focus of the image is the subject’s face, that is the best approach. Notwithstanding, the final decision is yours. You are free to use your creativity to decide whether to go with whatever the camera’s spot metering tells you, under-expose or over-expose.
Once you have metered off the skin tone of your subject, set the exposure values and then refocus on the subject’s eye (closest to you) before pressing the shutter button all the way to complete the exposure.
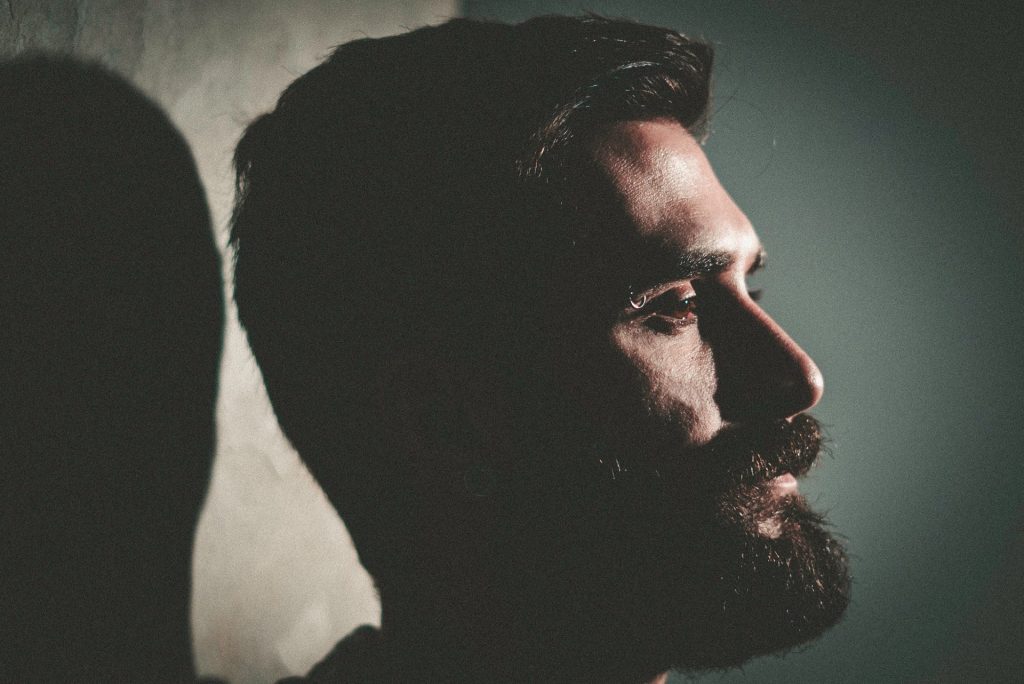
Lighting
Lighting is the key to any good headshot image. Remember, it is the face that is the focus of the image. So, you need to ensure that the lighting is right. Soft diffused lighting works almost every time. The thing about soft lighting is that it makes the skin appear smoother, hiding blemishes and textures that would mar an image. When shooting indoors, in a studio environment you can always set-up your lights with diffusers. Creating a soft light isn’t that difficult inside a studio.
Shooting outdoors, however, throws a bit of a challenge. You have to avoid shooting on bright sunlit days as well as when the sun is directly on top of you. Shoot on overcast days. When weather conditions are not to your liking and you have to shoot anyways, use some shade to diffuse the light. Carry a white sheet or hold a large garden umbrella over the subject’s head. Do anything to find some shade to place your subject under it and then make your images.
That being said, hard lighting can and is also used in headshot photography. The thing is the purpose of the photos needs to be considered when setting up the shot as well as the lights. We have learned how a majority of headshot photos can be shot with one or more diffused lights. If you have just one light to play around with you can use it cleverly to create a well-lit headshot or take the easy way out and illuminate the subject’s face from the side to create a hard lighting scenario.