How to Photograph the Moon
From time immemorial earth’s only natural satellite, the moon, has been an object of fascination and desire for man. He has written countless lines admiring the moon, compared his love with it and spent countless hours looking and admiring it in the night sky. The moon, has contributed to the history of our planet in more ways that we can ever fathom.
The gear
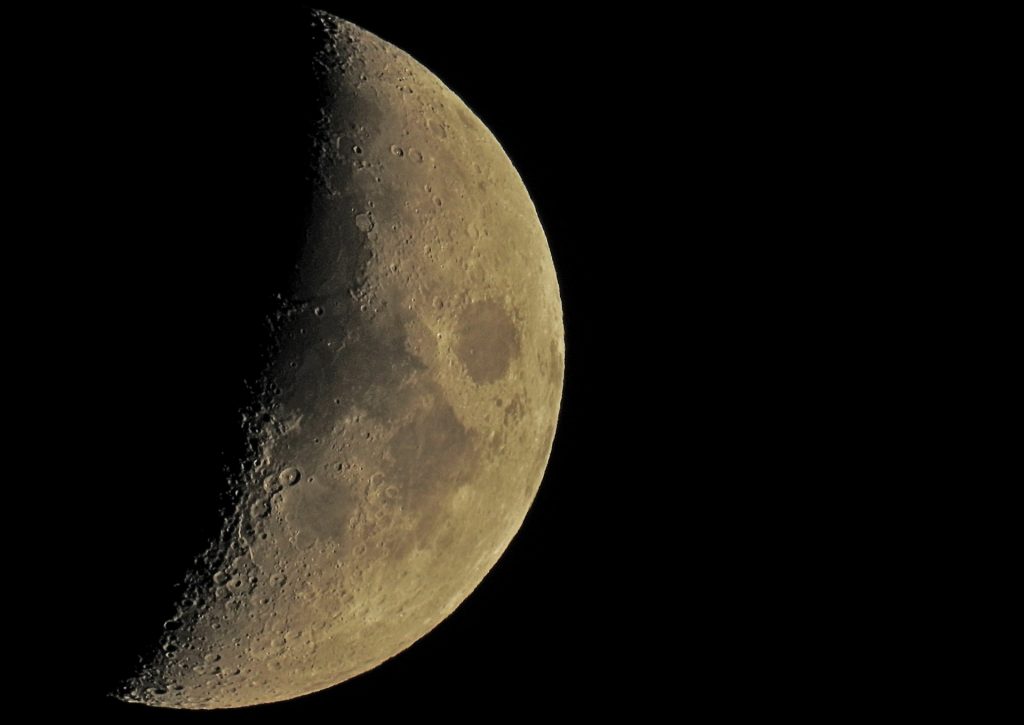
Let’s start with the lens. There is no one particular lens that will work the best in all situations. It all depends on the shot you want to make. A telephoto lens allows you to get an up-close and tight shot. All those beautiful images where a sharp image of the moon’s battered surface is seen are shot with telephoto lenses. Sometimes these lenses are used in conjugation with tele-converters. The result can be pretty amazing.
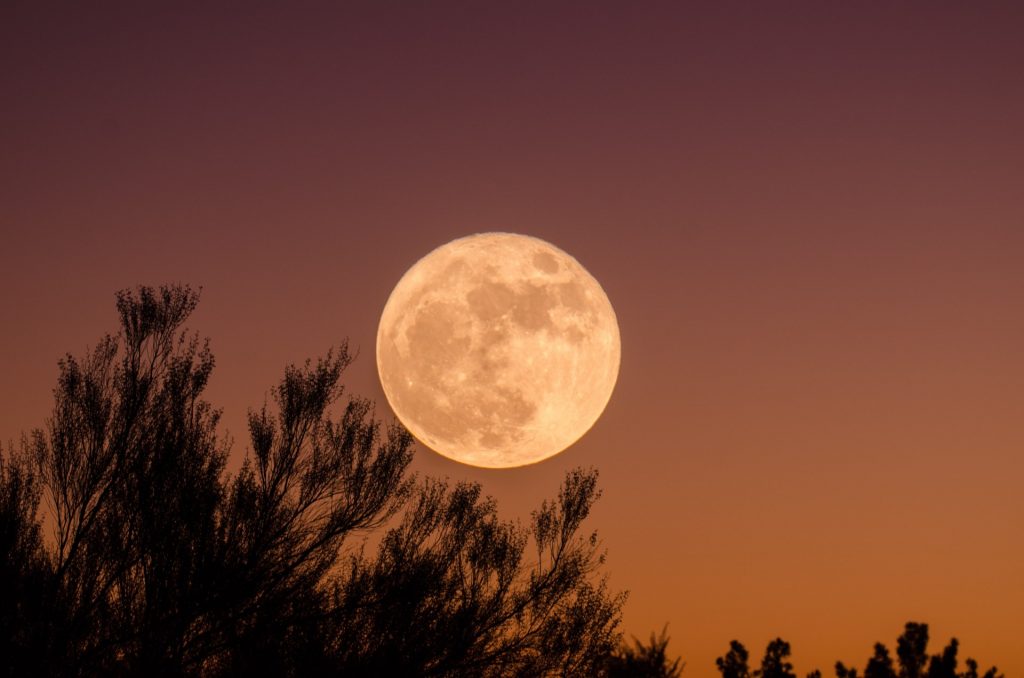
A wide angle lens, on the other hand, will get you a shot of the moon and anything else that your camera’s dynamic range is able to pick up. So, the silhouette of a tree devoid of its leaves, or the moon setting behind the silhouette of a mountain or a cityscape with the moon in the sky look fabulous too.
I would recommend choosing a lens that is sharp. Irrespective of whether you select a telephoto or a wide angle this should be your primary requirement. Both telephoto and wide angle lenses can shoot great images of the moon in the right hands and under the right circumstances.
Any camera will do. I have seen good images of the moon shot with a superzoom bridge camera with a fixed lens. It all depends on how you use the camera. Coming to DSLR systems both full-frame and crop sensor powered systems are good.
Having said that larger sensors have some advantage as they can gather more light and therefore produce a cleaner image. Mirrorless systems such as the ones made by Sony have a slight advantage because of their low light performance.
A tripod is a must have. You cannot shoot sharp photos of the moon without a tripod, period. Photographing the moon means you need a low ISO setting. Regardless of the focal length you are shooting you need a stable platform so that you can use a longish shutter speed in order to get a noise-free, sharp image.
Camera settings – Exposure Value, Manual Metering
Never use the camera’s auto modes for photographing the moon. The thing is the moon is a bright round two-dimensional object on a pitch black flat surface known as the sky. Just kidding. But if you see it that way, you will understand what I am trying to say.
When you focus on the moon, and your camera’s built-in meter sees all that black around a brightly lit object it goes completely nuts. It would try to increase the exposure to compensate for all that black and in the process convert the moon into a blob of white.
This, however, depends on the metering mode of your camera. Spot metering will be the better way to meter for the moon than matrix metering in this situation. The best approach would be to use spot meter and then manually set the exposure value.
Even when using spot metering and manually adjusting the exposure, I would recommend to shoot at least two exposures using the bracketing method. This method fires two or more exposures (depending on your camera). These two exposures are taken using two different exposure values. Ideally, take three. One at the metered values, one with a negative one stop exposure compensation and one with one stop of positive exposure compensation. This will give you three exposures to choose from when you are back on your computer reviewing the images.
Aperture
By now you probably are aware of the sweet spots of your lens. To break things down for you, sweet spots refer to the sweetest aperture where you get the maximum depth of field without lens diffraction coming into the picture.
Lens diffraction is softening of the image quality when you use an aperture that is very small. Cheaper lenses tend to start showing signs of image softness at around f/8. Better quality lenses can be pushed even further. Start with f/8 as your aperture of choice. Depending on the quality of your lens you can even push it down to f/11.
ISO
ISO settings should be low as has been previously stressed upon. Low ISO ensures that you get a clean image. Although the moon is bright, when you get a close tight shot, the brightness advantage is lost.
Shutter Speed
Shutter speed is probably the most important aspect of your camera settings when photographing the moon. The right shutter speed will allow you to get a clean noise free image as well as ensure that you don’t get a blown out overexposed photo. The actual shutter speed will depend on your aperture, ISO and the focal length. On a tripod, however, the last parameters will not matter. You can shoot at any shutter speed as long as you have a stabilized platform for your camera. I would start with a shutter speed of 1/100 sec and then slowly adjust it depending on the results that I am getting.
Composition Ideas
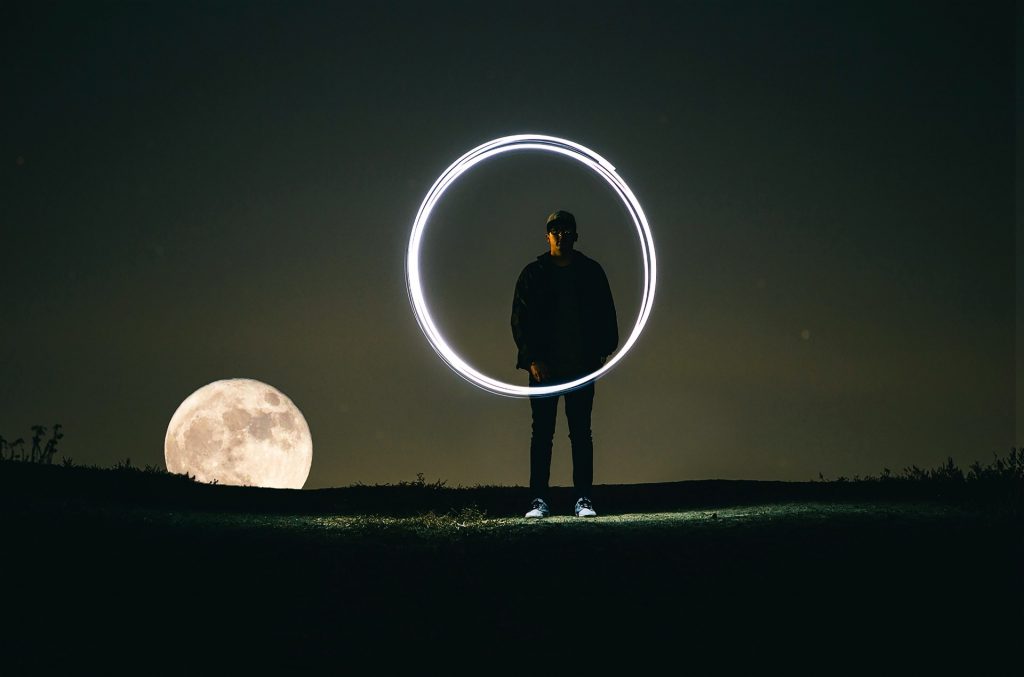
The moon along on its own is a beautiful thing to photograph. With a tele or super tele-lens you can highlight that beauty in many ways. But there are other ways to incorporate the moon in your photos. But it needs a bit of careful planning to pull off. The most difficult thing is to balance out the exposure between the moon and the foreground which is going to be pitch black in most situations. In such situations, always meter for the moon and then pull the shadow details up in post. Or as most photographers tend to do, push the shadows to make them completely dark silhouettes.
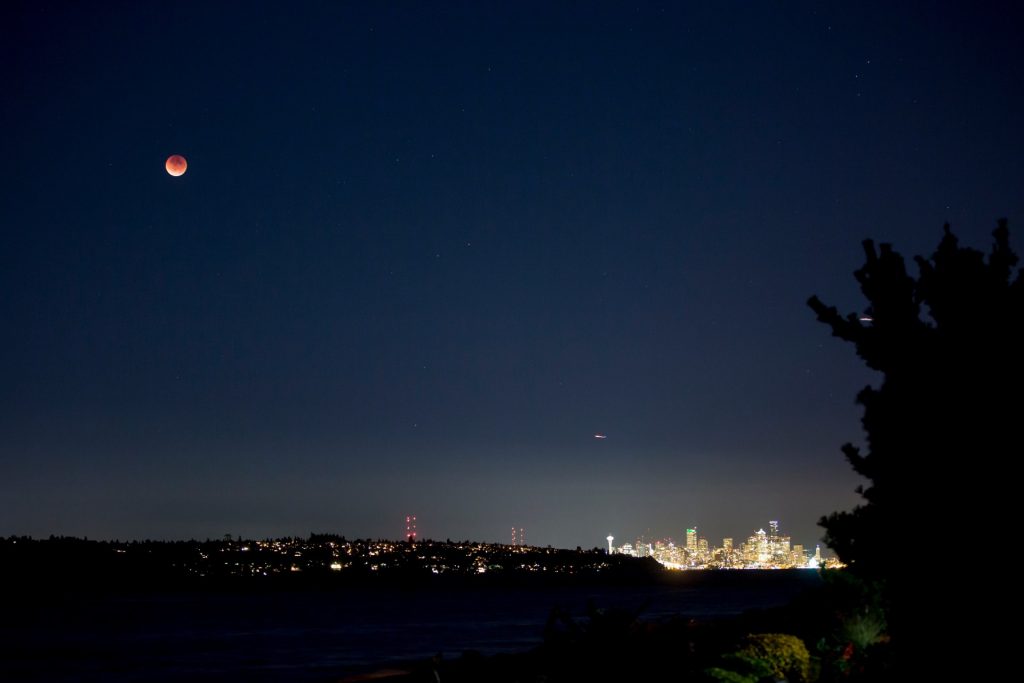
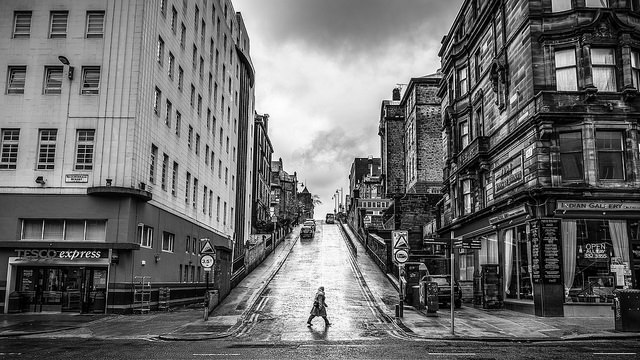
Shooting the moon against a cityscape is yet another great idea. You get the bright white color of the moon and then the vibrant yellow and orange colors of the city lights in the same frame. A long shutter speed will allow you to incorporate movement of the clouds and water, in case you are shooting in front of a promenade.
Choose the right time

There are many app and guides that will give you the best times to shoot the moon during the year. The full moon is the best time to do a bit of moon photography. Head over to the iTunes or Android Play Store in order to download an app that will give heads-up regarding the best times. Without these apps it is always going to be a trial and error method. You will have to keep an eye on the phases of the moon and accordingly plan your shot.
These apps gives you not only details about the phases of the moon, but also the accurate direction the moon is going to rise and set. These are incredibly useful especially when you are shooting at night in unfamiliar locations.
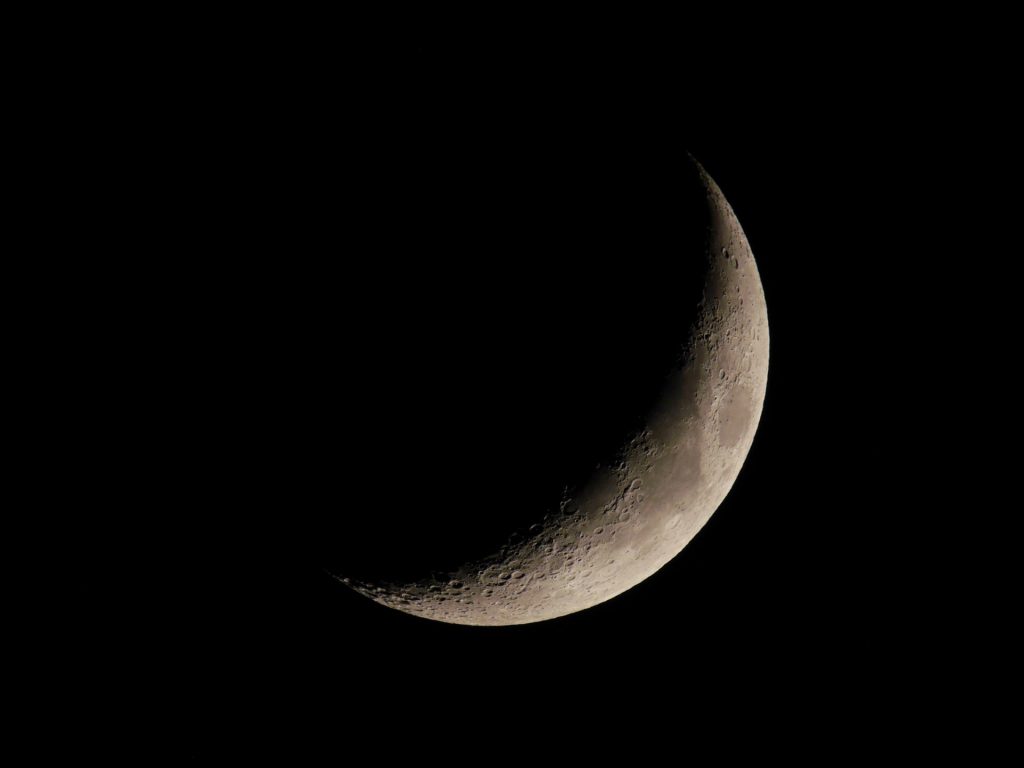
Both the full moon and the crescent moon has their own charm. The full moon is extremely bright and that means the light is sufficient to expose other elements in the image as well. This is provided, however, that you set the right ISO and shutter speed.
The crescent moon is also a great subject to capture but you will have to adjust your exposure by slowing down the shutter speed to ensure you have a sharp clean capture.