How To Improve Your Night Photography
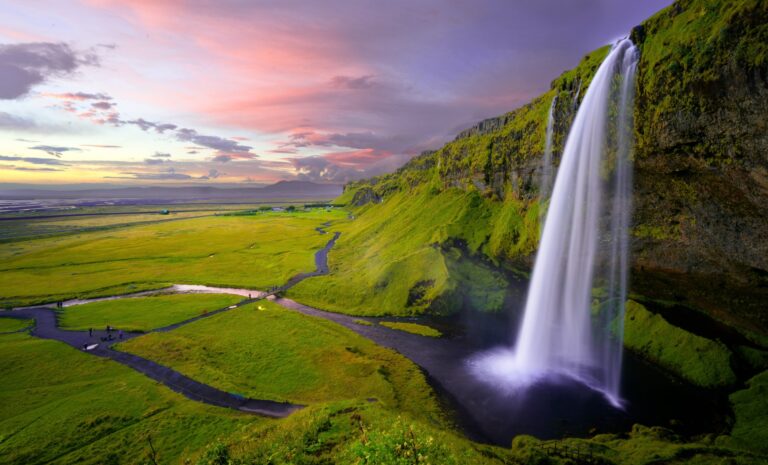
Whether you prefer the stars, the moon or just the street lights, there’s something fascinating about the night. For photographers, a great photo of a night scene can have extra impact. But have you realized how hard it can be?
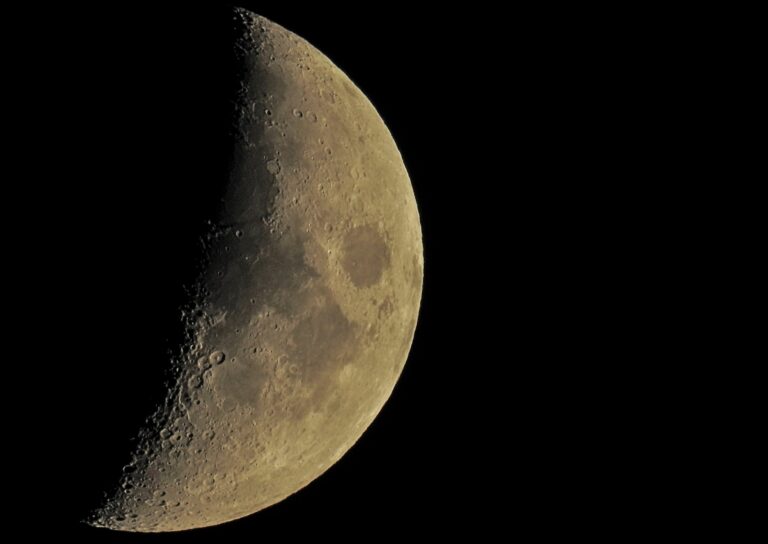
If you’e ever tried taking a night shot from your phone or your compact camera, you will probably have had many problems capturing a completely sharp scene. Perhaps you gave up when you realized that the moon would be appeared to be a light blur in the photo?
But with a decent quality digital camera (and the right advice) shooting night scenes doesn’t have to be too hard. So here are 5 tips that will help you get the most of your night photography.
1. Use artificial light
Though natural light can be a great source of lighting, you won’t necessarily get a reliable source during the night. Unless moonlight is sufficient (in cases where you want to shoot eclipses and such…but that’s a story for another day), artificial light is key to succeeding at night photography.
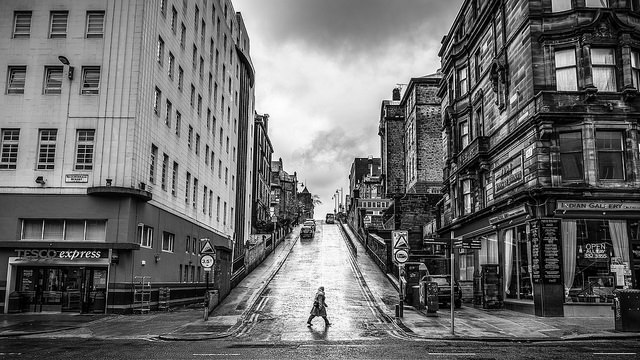
Lights from cars, street lights and flashlights can often be enough if you want to shoot landscapes, close up images or bulb mode. But if you want to brighten up closer landscapes or capture a portrait, you will need some flashes and light modifiers.
Remember that soft lights will often look more subtle than hard lights, which is why you need to modify external flash light. For this you can use several types of accessories, like a softbox or other light diffusers.
Also keep in mind that an external flash will guarantee much better results than the built-in flash in your camera. So if you still don’t have light gear, you might want to consider investing in it! (And hey, it’s not that expensive!)
2.Shoot in RAW
Low light photography in general, has the particular trait of involving a high quality image. When I talk about high quality, I mean an uncompressed picture. But what’s that?
You may notice your camera has different formats in which it can shoot. The most common ones are JPEG and RAW (or DNG which is a RAW type of format as well). A RAW file is the best image quality you can get because the file is that: completely raw, uncompressed. Among the benefits of RAW, there is the simplicity of processing.
The less compressed your files are, the easier and more customized they can get when editing. So when you open a picture in your editing software you will be able to adjust every part of it – guaranteeing great final results.
But keep something in mind, though: RAW files are very heavy. They take much more room than a JPEG file in your memory card. You either get a big memory card or you clean your current one completely before every session!
3.Use tripods or stable surfaces. Combine them with the right settings
Not only will you need to use more light than usual, you also need to let your camera capture it. For this, you can use different settings. The settings that are in charge of handling the exposure of our camera are three: shutter speed, aperture and ISO sensitivity.
Aperture is the amount of time your lens stays open. The wider the diaphragm opens in every shot, the more light enters our lens. This is essential to know in night photography because you will probably need a really big aperture value (a small f/ number). Apertures around f/8 tend to work well enough.
ISO Sensitivity is the sensitivity your camera has to light provided by the scene. That’s why when you have this setting on automatic, you will realize that in low light conditions, it gives a grain effect caused by high ISO levels. To avoid this grain effect, you must adjust to the lowest possible level.
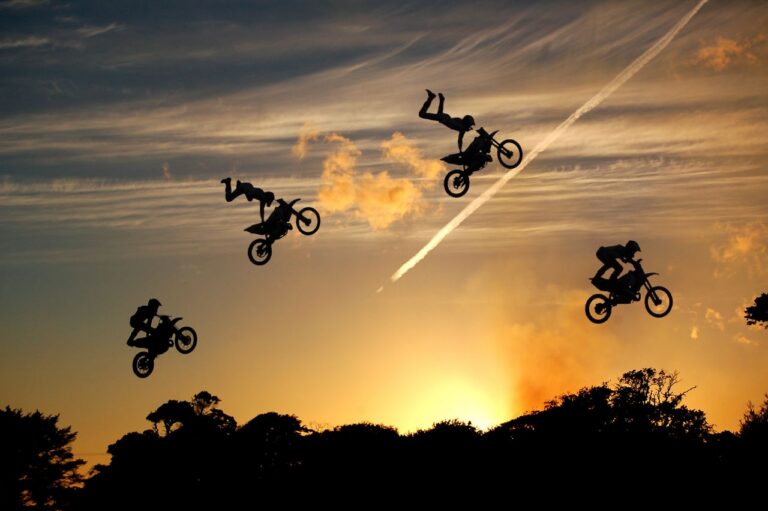
Last but not least, you have the shutter speed. Understanding the shutter speed is key to get the best of night photography. A slow shutter speed will provide more light to the camera than a short shutter speed.
With a long (slow) shutter speed, the camera will be more vulnerable to visible shakes and hence, blurs. In order to avoid these shakes, you need stability. And that’s why the tripod, regardless of its nature, is so important for night photography.
4. Choose your locations in advance
Night photography has one disadvantage: it can be dangerous to perform. Mostly depending on the time you choose to take the pictures. So in order to avoid awkward circumstances, it’s better to explore ahead.
For this, take the time to discover the sweet spots in your city or around a certain area you are interested in. It can be when you go out at nights or on your way home from work. Look at the possible scenes that seduce you the most, keeping in mind that you will have to frame it once you are in the session.
And take care of yourself! Take a friend with you if possible. And if the area is too dangerous, avoid taking too much gear.
5.Don’t stress out
Besides being dangerous, night photography can be a little frustrating. It takes time to master your camera settings’ relationship with the full darkness, so be ready to make several missed shots.
If you need to take long exposures to get the best out of night photography, you can take a remote shutter control with you. This will save you some time and you won’t get as many blurred pictures.
And these are the 5 most important tips to get the best out of night photography. Remember that the “night is dark and full of terrors”, but it’s also filled with great beauty waiting to be captured by photographers like you!
If you have any questions, just leave a comment below!